Meetboard® Over-the-air (OTA) Update V1.3 with New Cloud Storage Release
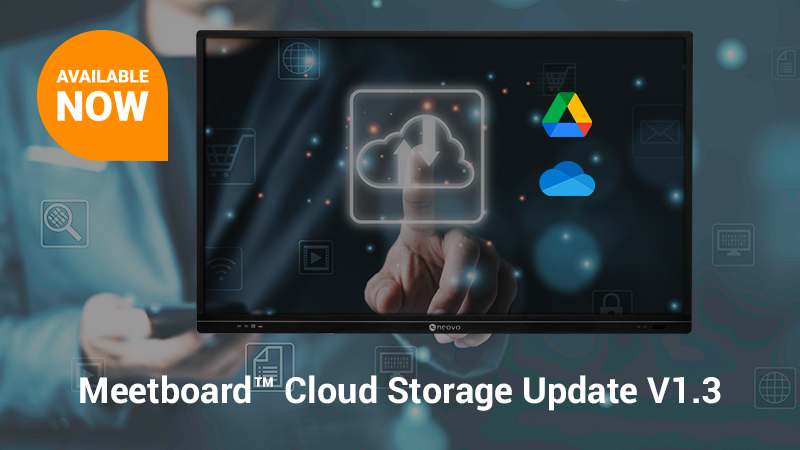
AG Neovo Solutions team provides a user-centric product, Meetboard® interactive display, which brings the collaborative meeting to the next level.
We are pleased to announce that there is a significant OTA update in Meetboard Cloud storage functionality and ScreenShare Pro App UI improvement. The OTA update to the 1.3 version will be launched on 10th, August 2021.
What’s New from the 1.3 Version Update?
This new update expands the access to Cloud storage on Meetboard, including Google Drive and Microsoft OneDrive. Before the 1.3 version, Meetboard Cloud storage could only be available for saving files but did not support reading and downloading the files through the cloud. Now, Meetboard is more user-friendly. You can easily access, upload, and download folders and files through a finger of touch on Meetboard Cloud storage.
Using Meetboard Cloud storage properly can save you more time and energy when sharing files with meeting attendees. Here is a step-by-step guide:
1. Access the Account to the Cloud Drive
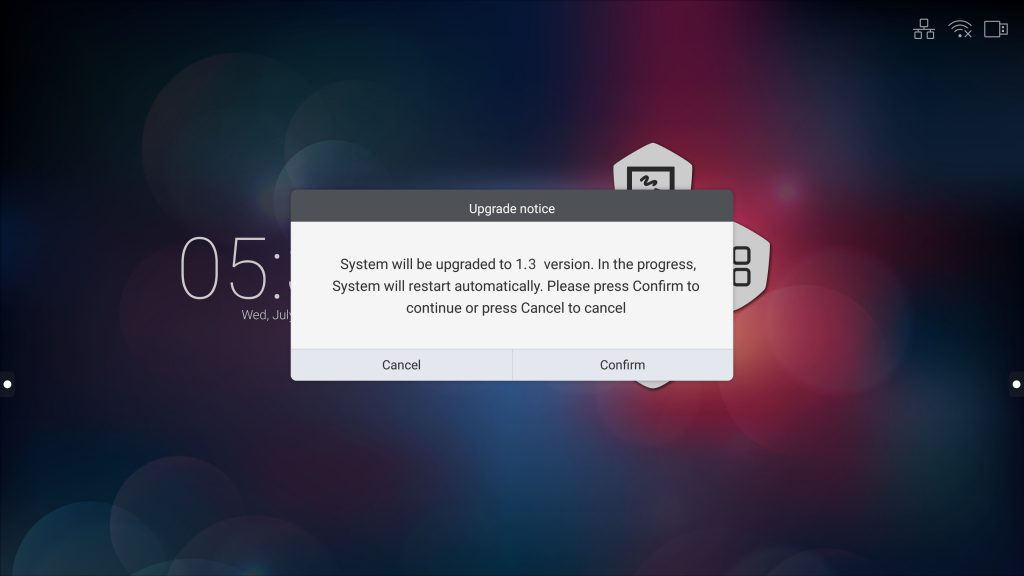
Firstly, make sure your Meetboard is connected to the Internet and the firmware update has been executed to the 1.3 version.
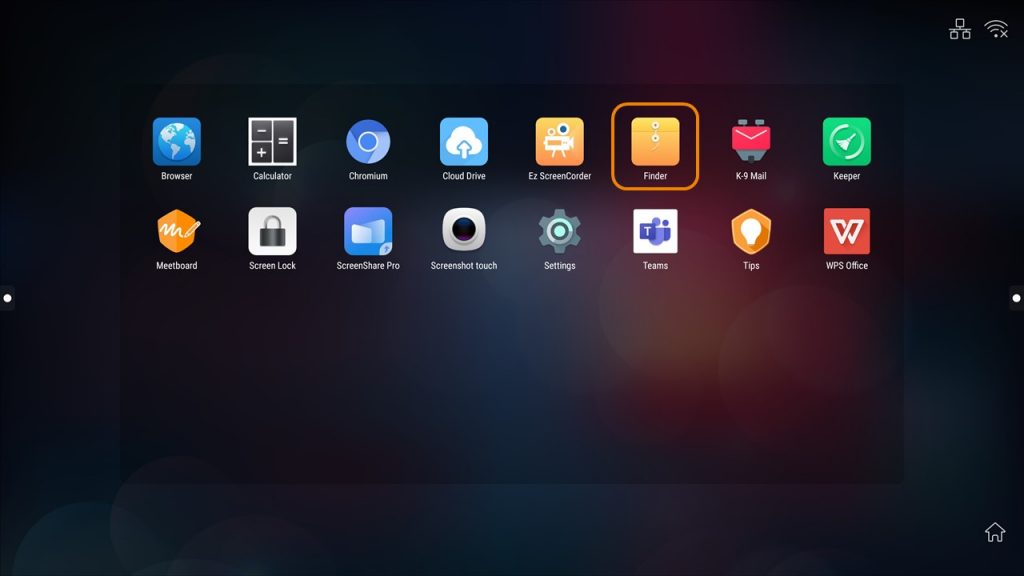
Open the “Finder” app on the home screen.
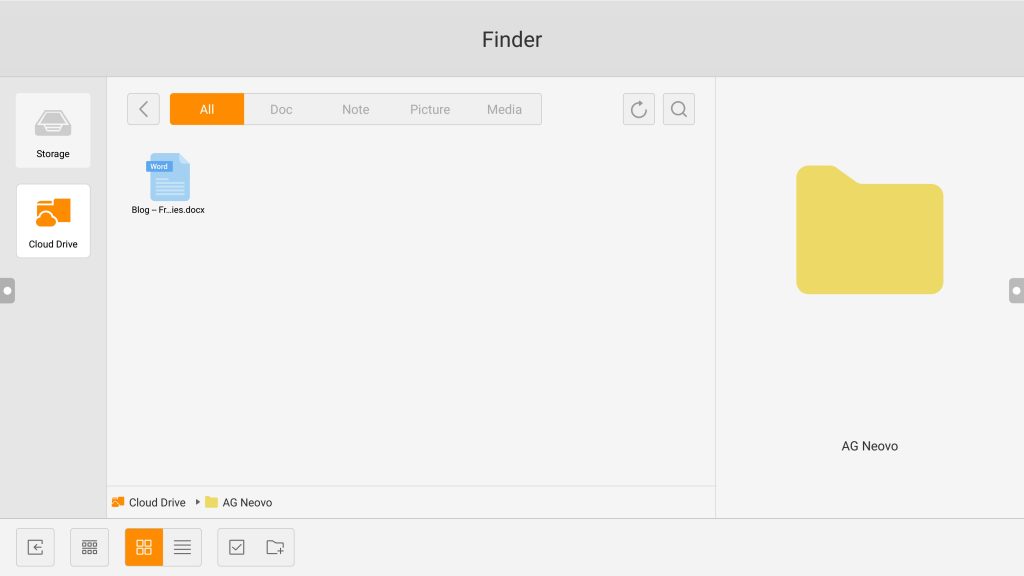
Then, you can see the new “Cloud Drive” option at the button of the available storage in the “Finder” app.
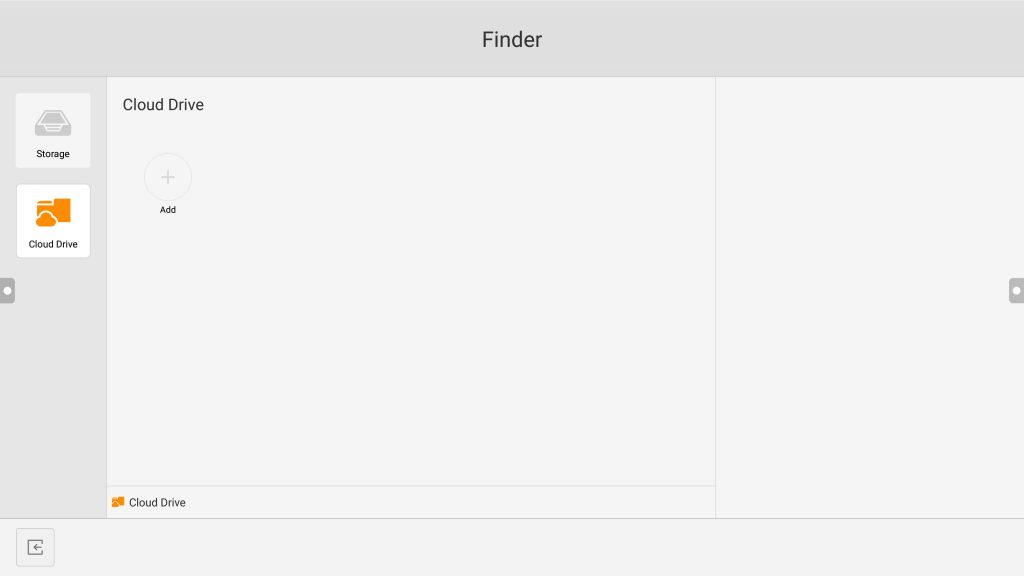
Secondly, click the “Add” button and then click “Add Account” on the pop-up window. Here, you can select to always use your default cloud drive account and/or always save the file with the default file name.
You can select your personal Google Drive or Microsoft OneDrive.
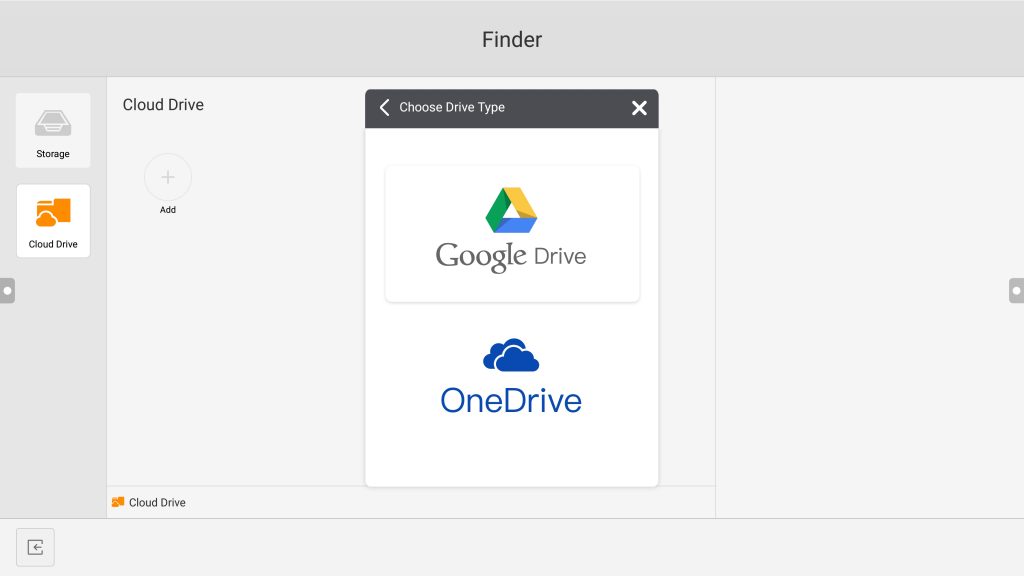
If you log in to your Cloud Drive for the first time, you are prompted to enter your credentials.
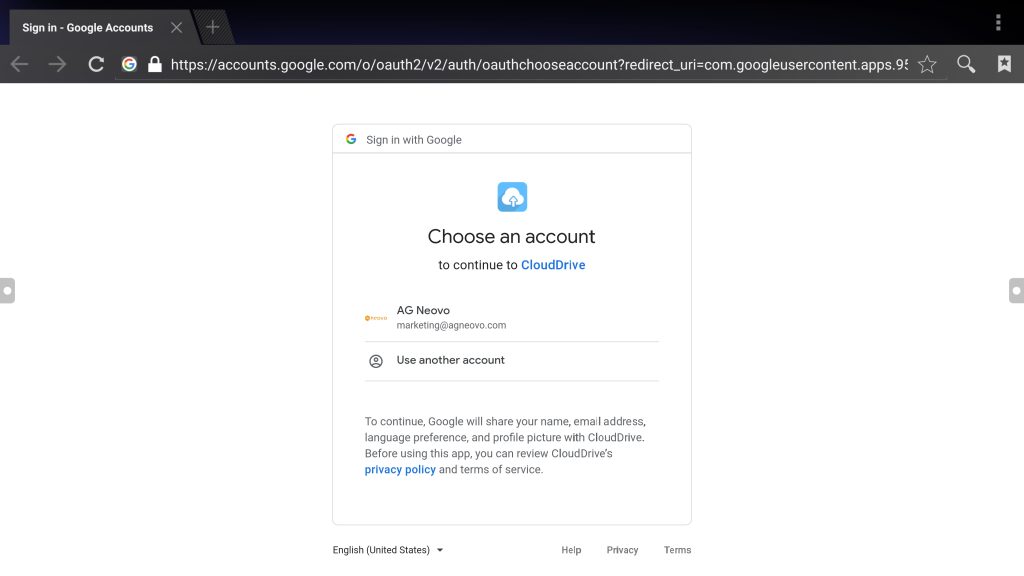
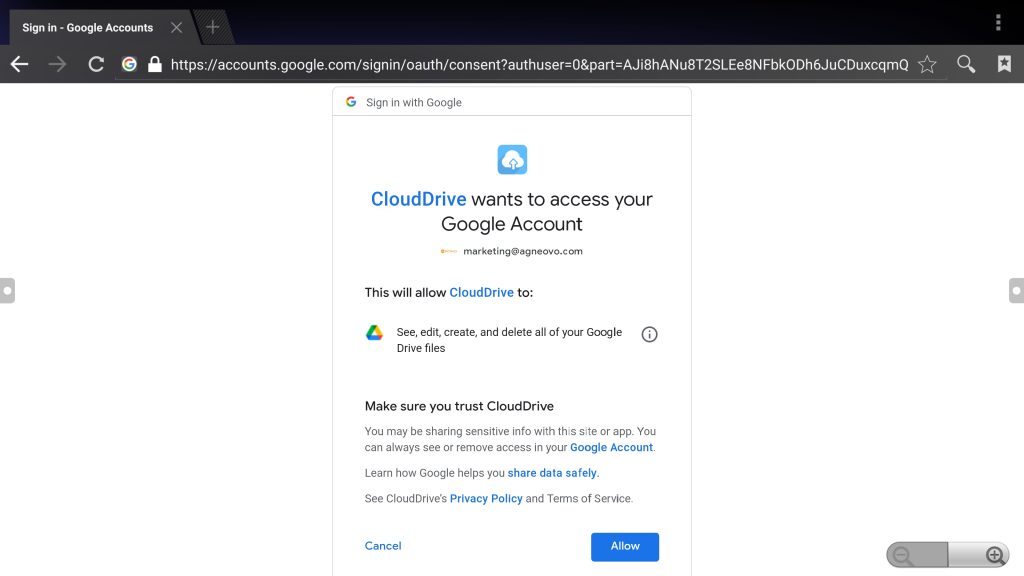
Follow the on-screen instructions to configure the access to your Cloud Drive.
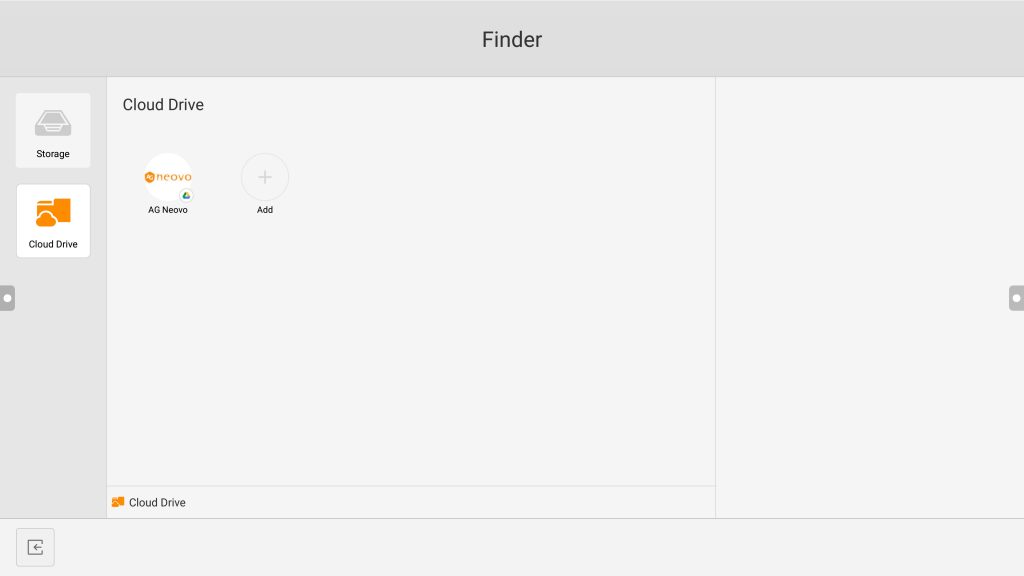
When the account is successfully accessed and connected, you will see the account is on the Cloud Drive screen.
Finally, just click the account, and then you can see your folders and files is right here on the screen.
You can access the file categories, perform search, review details, and perform operations with files and folders using the control bar, such as select, create folder, duplicate, cut, delete, transfer, etc.
2. Remove the Account from the Cloud Drive
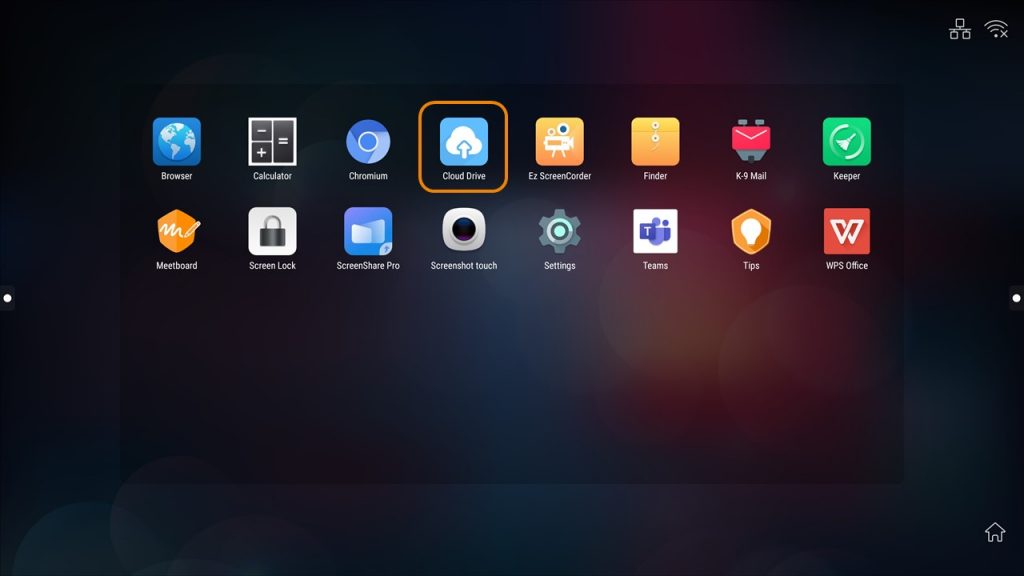
Once you don’t want to access the account anymore, go back to the Apps screen and open the “Cloud Drive” app to remove the account.
You can see your account is connected on the pop-up window.
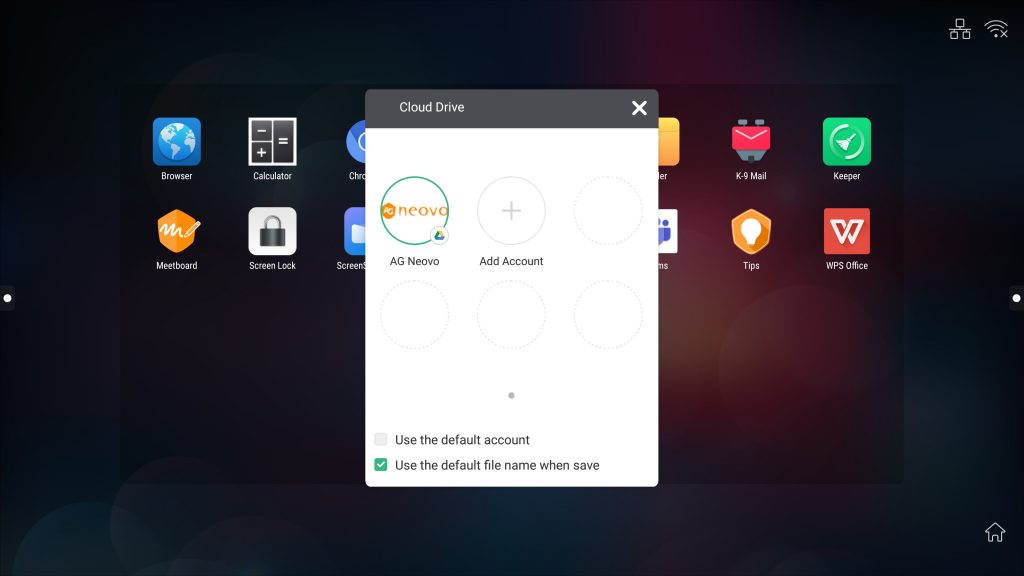
Long-tap your account, and a red trash icon is shown on the brink of the circle.
To remove your account, tap the red icon.

Then, click “OK” on the pop-up “Delete” window, and make sure that your account is successfully removed.


